Tag Archives: jewelry techniques

What left overs?

But first.

IMG_2392

Is it possible that this is my bench? This organized, clean, ready to make wonderful things, bench?

I think it is.

:)

So,

What to do with those left overs.

IMG_2409

That pile of, what can I do with all this scrap silver, stuff.

IMG_2410

That, I know I can send it back to RioGrande to get credit but I can’t be bothered, stuff.

IMG_2414

Because it’s so much more fun to play with my flame throwing torch thing.

IMG_2417

And make pretty cool, very hot, silver balls instead.

Side Note.

Remember I told you about Willow. How she doesn’t like my studio, and can never settle?

Well, here she is staring at me, imploringly, because it was too cold to keep the studio doors open, and she just barked constantly if I let her stay outside.

IMG_2415

She wasn’t interested in the, now cooled down, molten silver ball.

IMG_2419

She just wanted out of there.

So, what to do now with the newly formed, just hanging around for the next adventure, blob of silver?

Well I decided to roll it through my rolling mill until it became a nice big round disc.

This one turned out just under 1″ in diameter, and is about 2mm thick.

IMG_2395

I then found two small stones that I liked from my stash – which is getting a little out of control, but we won’t talk about that.

IMG_2394

And wrapped them in bezel wire.

IMG_2391

 I then soldered the bezel wire into collars for the stones.

IMG_2393

 And voilà! The stones fit!

IMG_2396

Next I cut a design in the silver disc being careful to keep it within the circumference of the bezel collar to be soldered to it.

IMG_2397

As Willow watched, imploringly.

IMG_2399

Then I soldered the two bezel collars; one onto the left over silver disc, the other onto a small piece of sheet silver.

IMG_2422

During which Willow changed positions, to more comfortably stare at me imploringly.

IMG_2400

I placed the stones back into the bezels to see if they still fit, and was, as I am always, pleasantly surprised that they did.

IMG_2421

(She’s just being pitiful now.)

IMG_2401

Next step. Trying to ignore Willow, I filed down the sides of the second bezel collar flush to the backing. You’ll notice that it’s nigh on impossible to keep a well manicured hand if you choose to make jewelry. Don’t judge me! I do it for art.

IMG_2404

 (Now it’s getting just a tad creepy.)

IMG_2403

And then I filed smooth the solder joint of the first bezel.

IMG_2408

Is she finally settled?

She still looks a bit put out to me, but at least the staring has stopped.

IMG_2420

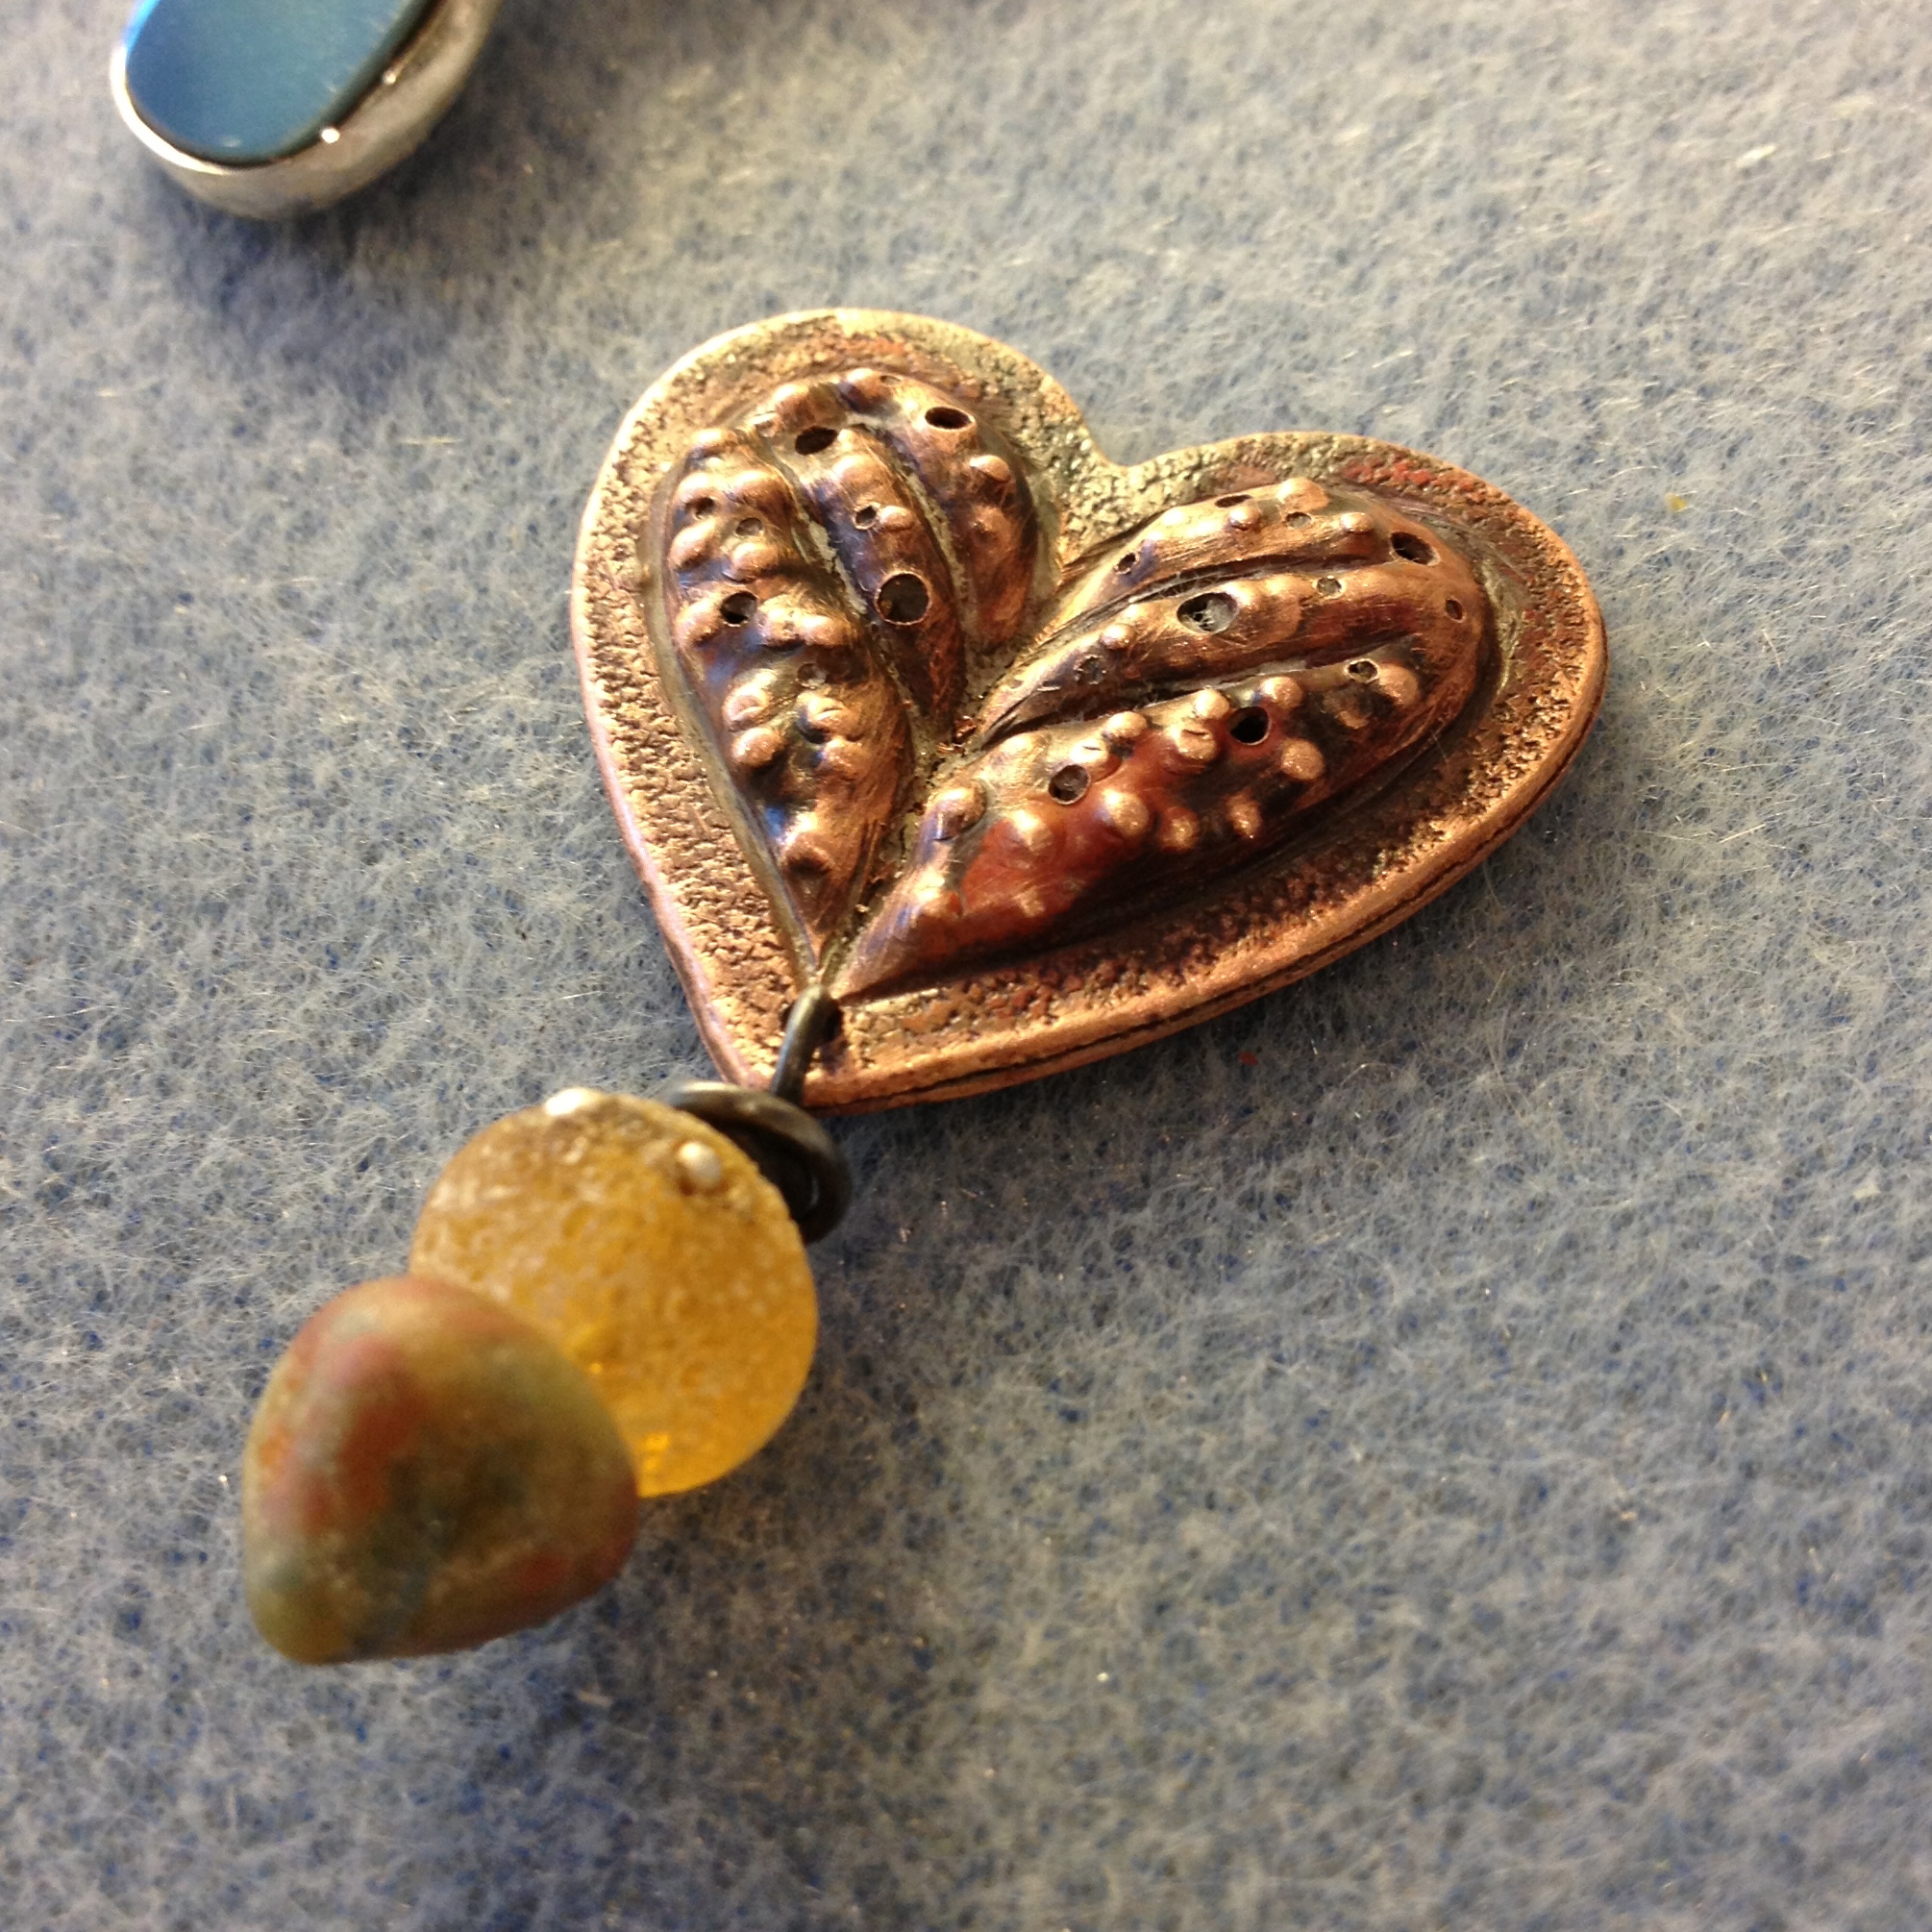
This is a bit of a fuzzy photo, sorry, but I next soldered a little loop on the top of the second bezel.

IMG_2423

And then soldered another ring through that one, and onto the left over silver disc.

That’s a bit tricky for me as invariably something unsolders itself when I’m not paying attention.

IMG_2424

This time it was o.k., however, and now there’s no way those rings are opening.

(I forgot to photograph it, but I then popped a small silver ball on the bottom.)

(See that bench? Still clean. It’s all a little, Invasion of the Body Snatchers. Spooky.)

IMG_2428

All that was left was to file down the bezel collars to the best height for the stones.

IMG_2429

Push the collar over onto the sloping side of the stone with the bezel pusher.

IMG_2430

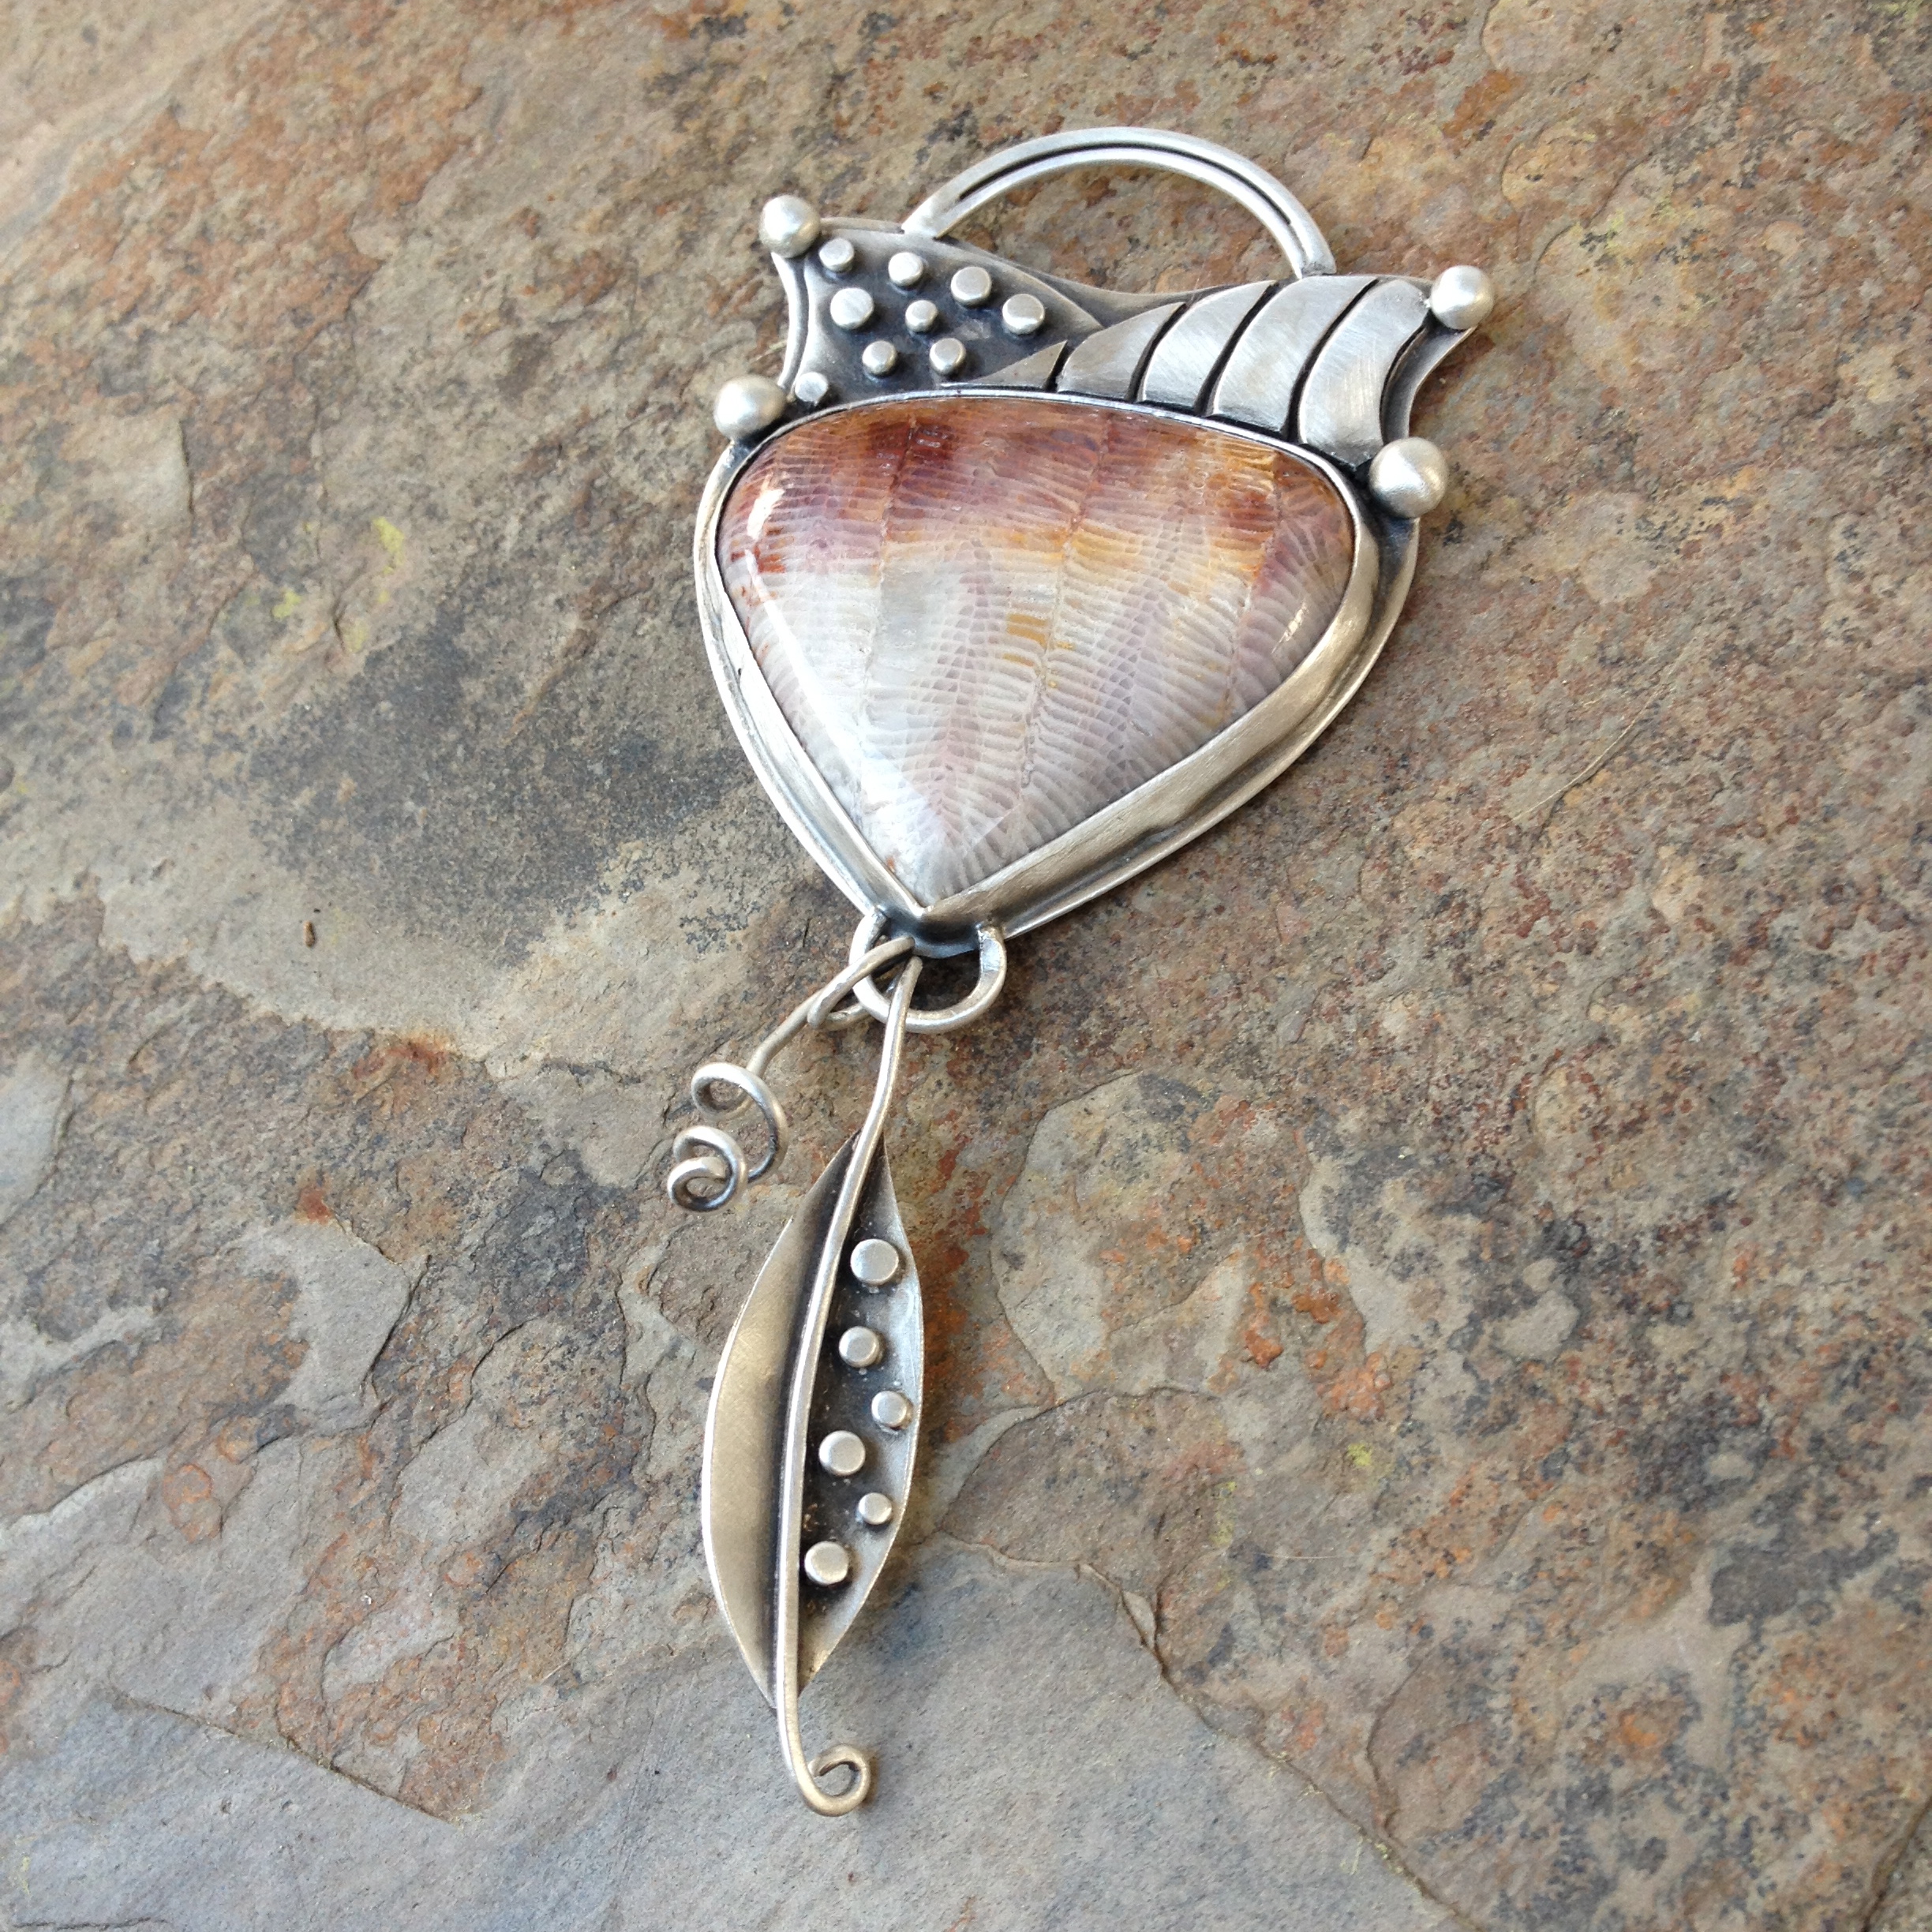
And finally, after only a few cuss words when the bezel pusher slipped once too often – the finished item.

IMG_2431

Here it is cleaned up.

IMG_2434

Top – Blue Variscite
Bottom – Burtis Blue turquoise

IMG_2442

As usual, I’m not sure that I like it, but it does look somewhat better than the scrap heap I started with.

My biggest problem in jewelry making is finishing it. I never quite like the look I get at the end. Sometimes it turns out fine, other times I feel as though it’s just a little off.

One day I’m going to be super good at all this stuff.


Chasing and Repousse

For my first attempt

I went with a simple shape.

 IMG_1740

I’m not really a heart person so I don’t really know what went on here, but it is a simple shape – I guess.

And I worked it until I got to this.

IMG_1741

IMG_1743

Very, very simple, but it was good to get the feel of the pitch, and tools, etc.

Looking forward to tomorrow when I get to try again.

P.S.

No injuries so far, but I’m not holding my breath …


The tale of two links.

Wondering what else you can do with those links?

You remember the ones.

Well fret no more.

To find the post with instructions on how to make these click HERE, however, I will recap.

First make the links.

This time I used 16 gauge sterling silver wire and I worked on them in a slightly different way than the first post – just to keep it exciting.

Cut 1″ lengths and hammer each end as before.

Then bend them over your super neat pliers and bring the ends together with flat nose pliers.

You will notice, with some frustration, that the two ends wont come together completely flat. Things like this bug the bejeezus out of me,

so,

gently squeeze together the round end of the loop just enough to bring together the flat ends.

It doesn’t seem much but this solves the problem. Just be sure not to squeeze the loop so much that you flatten the round end too much, you still want a nice looking loop at the finish.

This is where I changed it up.

The first time I made the links I drilled the holes in the ends before I made the loop. This worked very well for me but you have to make sure the holes line up after you bend the silver into the link.

This time I drilled the hole after I made the link.

Now, apparently I drill the same way I fish.

When I get a bite I reel the thing in as fast as I can until the fish is almost speared on the end of the rod, then I whack the hell out of it with the priest until it’s absolutely dead. Not the mostly dead as in my last post you understand. All dead. I can’t stand playing with it by casually reeling it in. I can’t stand its not knowing I’m going to whack it on the head. I just don’t want it to see it’s coming.

This is why I don’t fish any more.

Back to the jewelry.

When I drill I tend to push that bit down into the silver like there’s a race on. There’s no messing around, I just spear that thing like I don’t want it to see it’s coming.

Yesterday I found out, once again, that my fishing technique is not necessarily the best approach to drilling.

Feel free to learn from my mistakes, they might just save your life someday.

NOTE:

If you are not holding the link tightly enough (I use an old pair of pliers so as not to get my fingers too close) and you jam that bit down like someone who wants to get catching a fish over with as soon as is earthly possible, you will likely take your eye out.

In this instance the bottom end of the link didn’t want to stay put as the drill came down through the first end. Because I was happily going full guns with the drilling the link caught up in the bit and whipped itself out of the pliers. This has happened before (I’m a slow learner), but this time, and I don’t really know how, the link flew off into the room. A Final Destination moment for sure.

I quickly found out that, in this instance at least, slowly but surely wins the race and that, however much I don’t want to admit it, my high school metalwork teacher was right. Always respect the machines, however small and innocent they appear.

Moving on.

Once the holes have been drilled take out your preferred sanding tool and even out the ends into perfect rounds.

This is my tool of choice,

Next you will need some 18 gauge sterling silver wire which you cut into just under 2.5 cm lengths and bend in half.

Thread the loop into two of the links.

Now comes the tricky part, although if I did it, you can too.

Hold the links in your soldering tweezers and ball up the ends of the wire with your torch.

This is only tricky because you have to be careful not to heat up the flattened ends of the links too much else they melt too.

It’s also tricky if you have short tweezers. Then you’ll find you burn your fingers constantly until you wise up and buy a longer pair. Took me a year. Told you, slow learner.

Hold the new link with a pair of round nose pliers and bring together the balled ends slightly with a pair of flat nose pliers until you have a good shape

Carry on joining the links

until you have a bracelet length, or a length for whatever else you want to use a chain for. (See that link that hasn’t come completely flat together? Annoying).

Now, if you had thought ahead you would have already made your clasp before you closed up the last link. If you’re me, however, you wouldn’t have,

so,

find some 16 gauge wire and wrap a small loop from the end of it around the last link.

Solder this together making sure not to solder the loop onto the link. You want it to move freely.

Now make your hook clasp, pickle the chain, dunk it in liver of sulphur and polish to a nice sheen.

A bracelet.

Just for you.


How To #4 – More links.

Cut 1″ lengths of 14 gauge sterling silver wire.

This produces a fairly chunky link – you can experiment with different lengths and gauges to suit your taste.

Now put the music on and bring out the christmas present you got from your middle child who thoughtfully wants to protect your hearing from the hammering – that’s if Florence hasn’t got to it yet.

Hammer each end of the wire until flat then take your center punch, punch the silver and drill a hole in each end.

You can use your fordom but I like to use my drill press (so handy).

But, don’t do this,

because it will bug the %^#@*!! out of you that you got the hole off-center and, however much you try to ignore it, you know you’ll just have to start all over again and the top of your hammer will come off for the gazillionth time and it will all be very, very, annoying. Probably because the hammer you bought only cost you $12 and you know you should always invest in the best tools you can afford …

Still, you can whack the head back on and it will be fine but you’ll more than likely be experimenting with some interesting super glue scenarios in the near future.

Don’t let this get you down.

Take a deep breath then anneal the silver.

Because this softens the metal so that you can bend it more easily, and, playing with fire always relieves frustration.

Now get out these really neat pliers.

(If you don’t have these you can use regular round nose pliers. I wont mind).

Center the length of silver across the third or fourth smallest diameter prong,

and bend.

This will hurt your fingers but hopefully you will end up with all those innocent looking little curved silver pieces that are lurking in the background.

Take your flat nose pliers and bend out the very ends of the silver and then close the loop together.

If you have punched and drilled your holes consistently, i.e., in the same position at the ends of each length of silver, when the two ends of the loop come together the holes should line up. You could drill the holes after you join the two ends together. I find this a little trickier. Experiment to find which technique suits you better. If the holes don’t exactly line up you can fiddle with the loop somewhat. If the worse comes to the worse, however, just abandon the whole thing and try again.

What? It happens.

Now, join the loops together as in the pic below.

Voila!

Links.

This is what I did with mine.

And with only the smallest of injuries.

Then, you turn off your torch and go and see, The Bourne legacy.

Which was brilliant.

Enjoy.

For more How To’s see – HERE.

Note: The links to the tools used are only examples of the ones I use. There are many different types available of the same tools, some better than others. If you are beginning your jewelry adventure, please don’t just buy the ones in the links here. Research until you feel comfortable that you are purchasing the right tool for you.

Remember the $12 hammer problem?

Disclaimer: I am just a somebody muddling through. This is the way I do things. I am a wing it, try it, do it wrong, try again, sort of person. I do not maintain that I know what I am doing, only that I am trying to do it. Please feel free to enjoy my discoveries but follow your own research for professional advice and to perfect your skills. Above all, enjoy. Life is short.