I’ve got some things done.
It’s been like pulling teeth.
Every day I go into the studio just to find some excuse to take a break.
Even after just fifteen minutes.
When I can’t find a reason to leave the studio I just decide that I’m so thirsty I’ll die if I don’t get a drink stat!
What’s all that about?
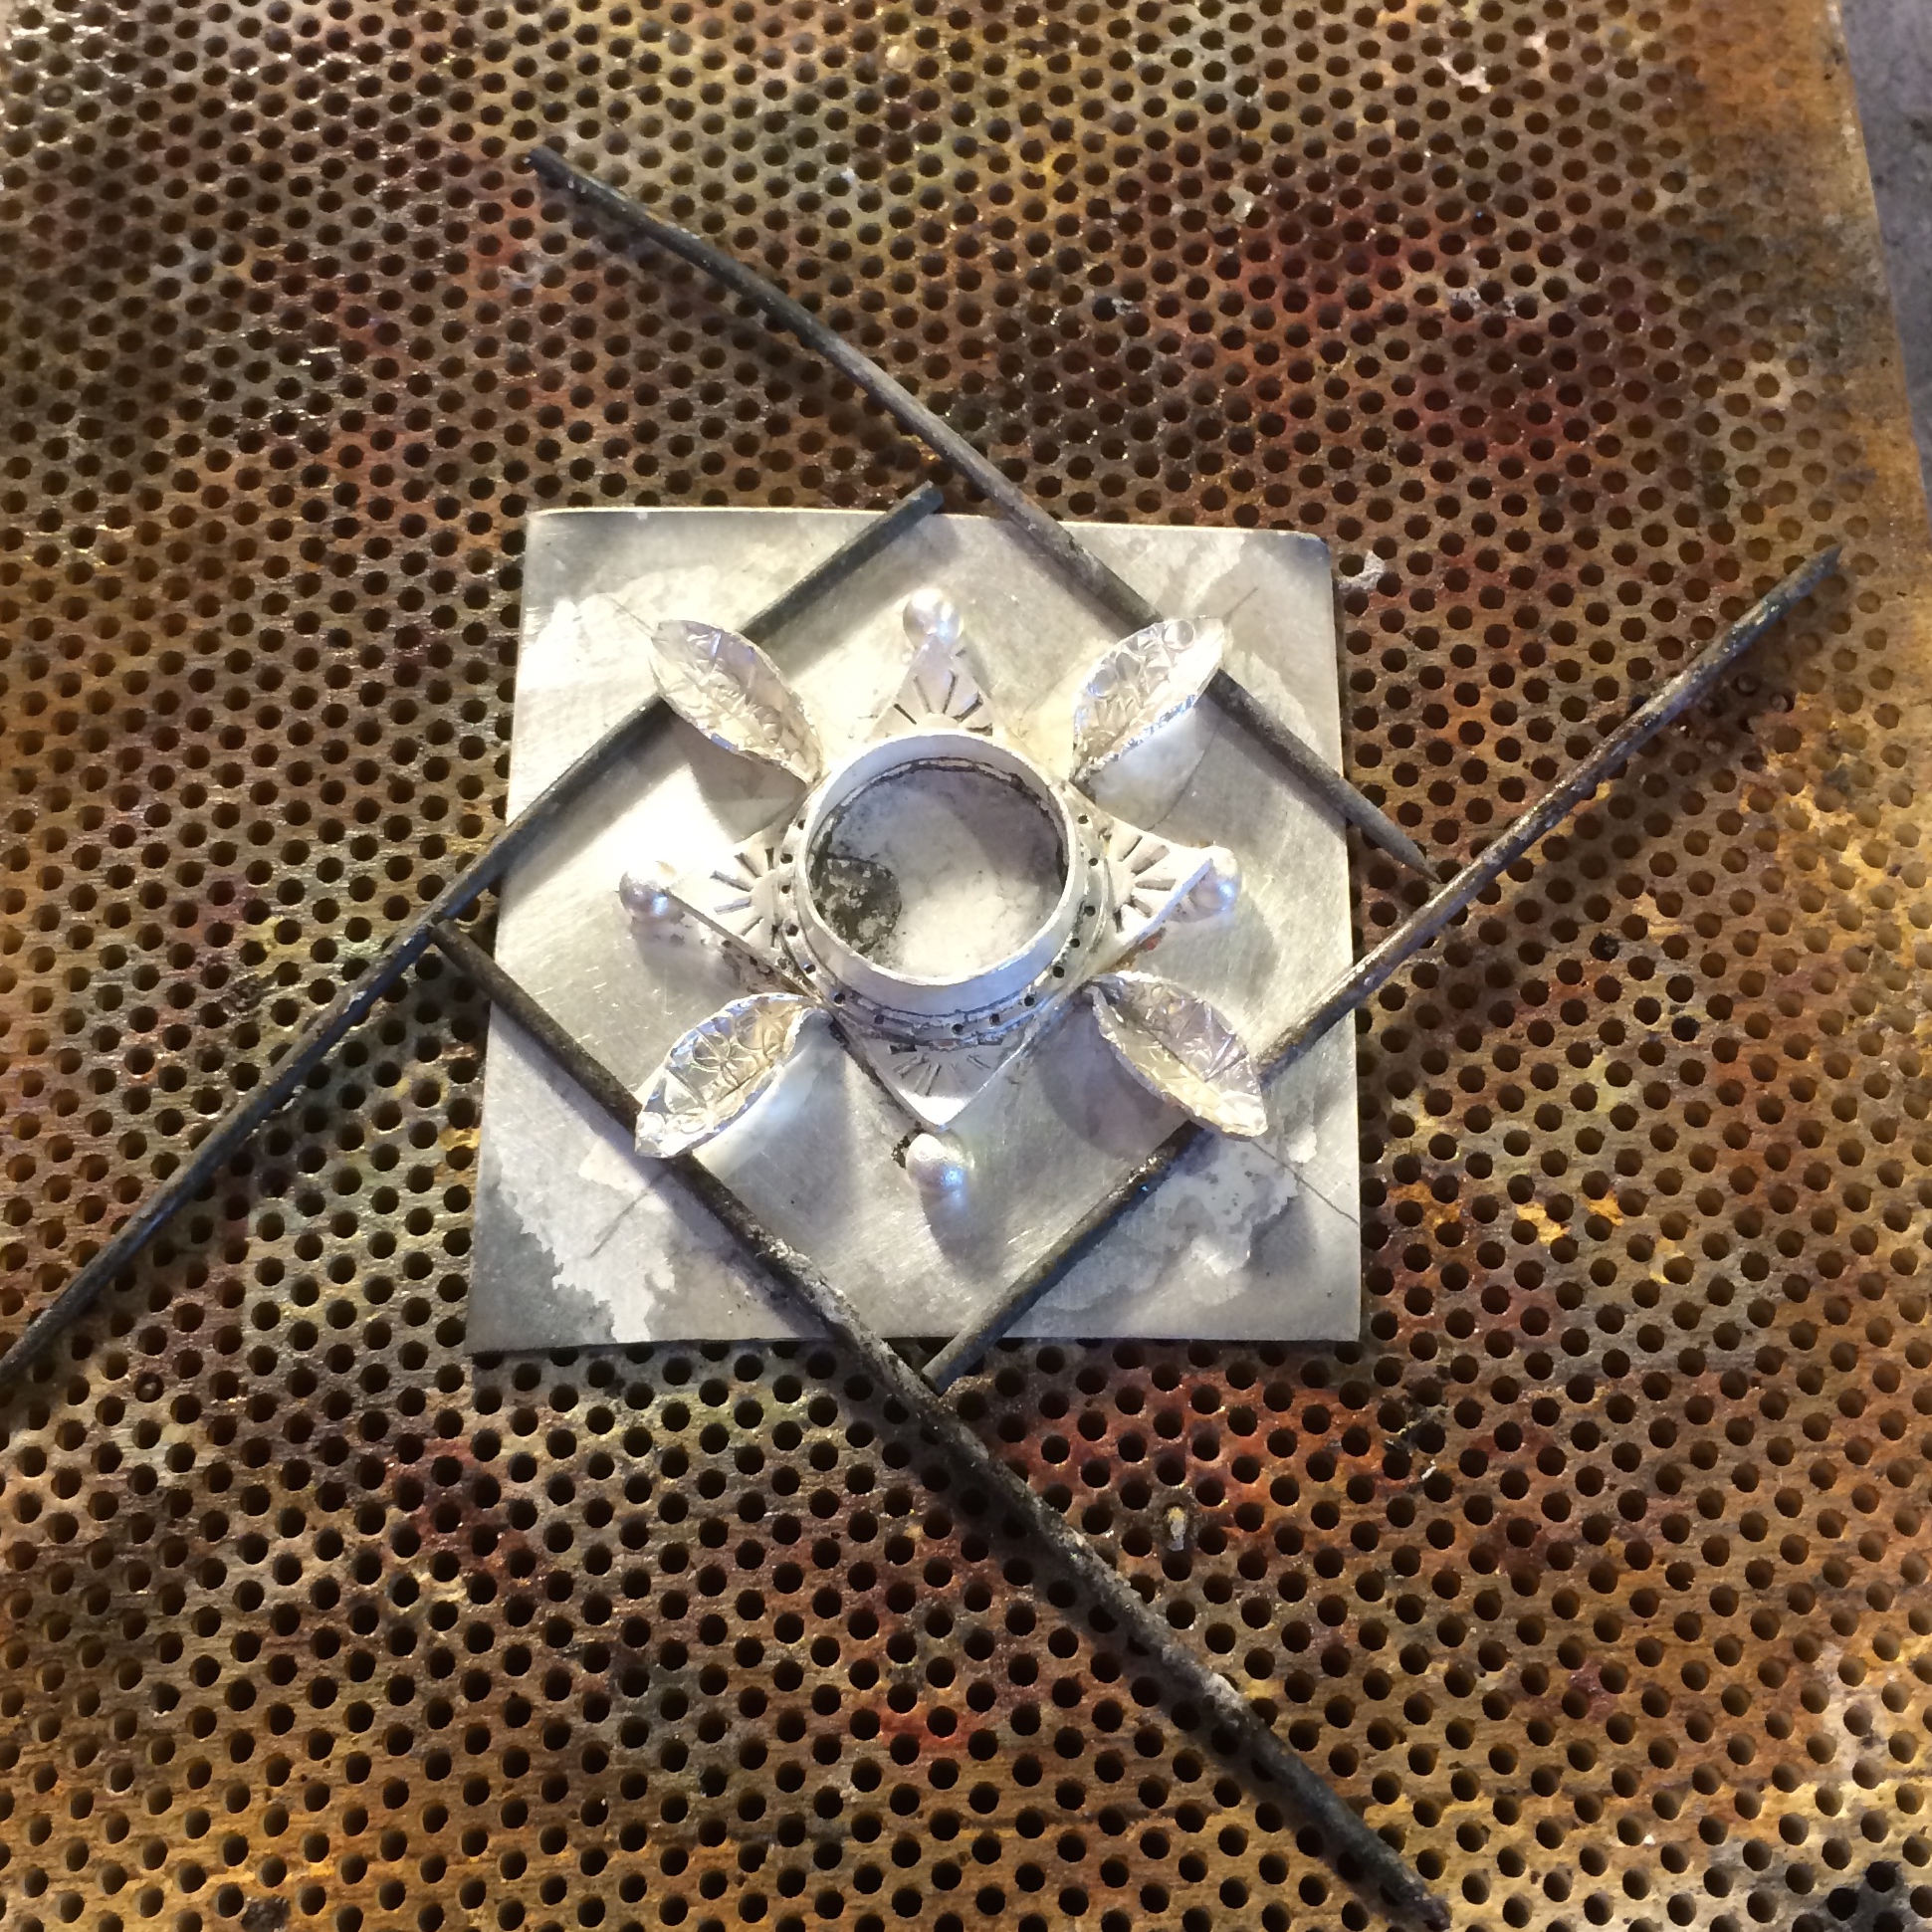
Remember this.

That wouldn’t cooperate and decided that it just didn’t want to be made even though it deigned to pose to show you what you can do with all your broken pick sticks.
Well it took me three days by Jove, but eventually I was able to finish it in-between all the drink breaks and consequent rest room trips.

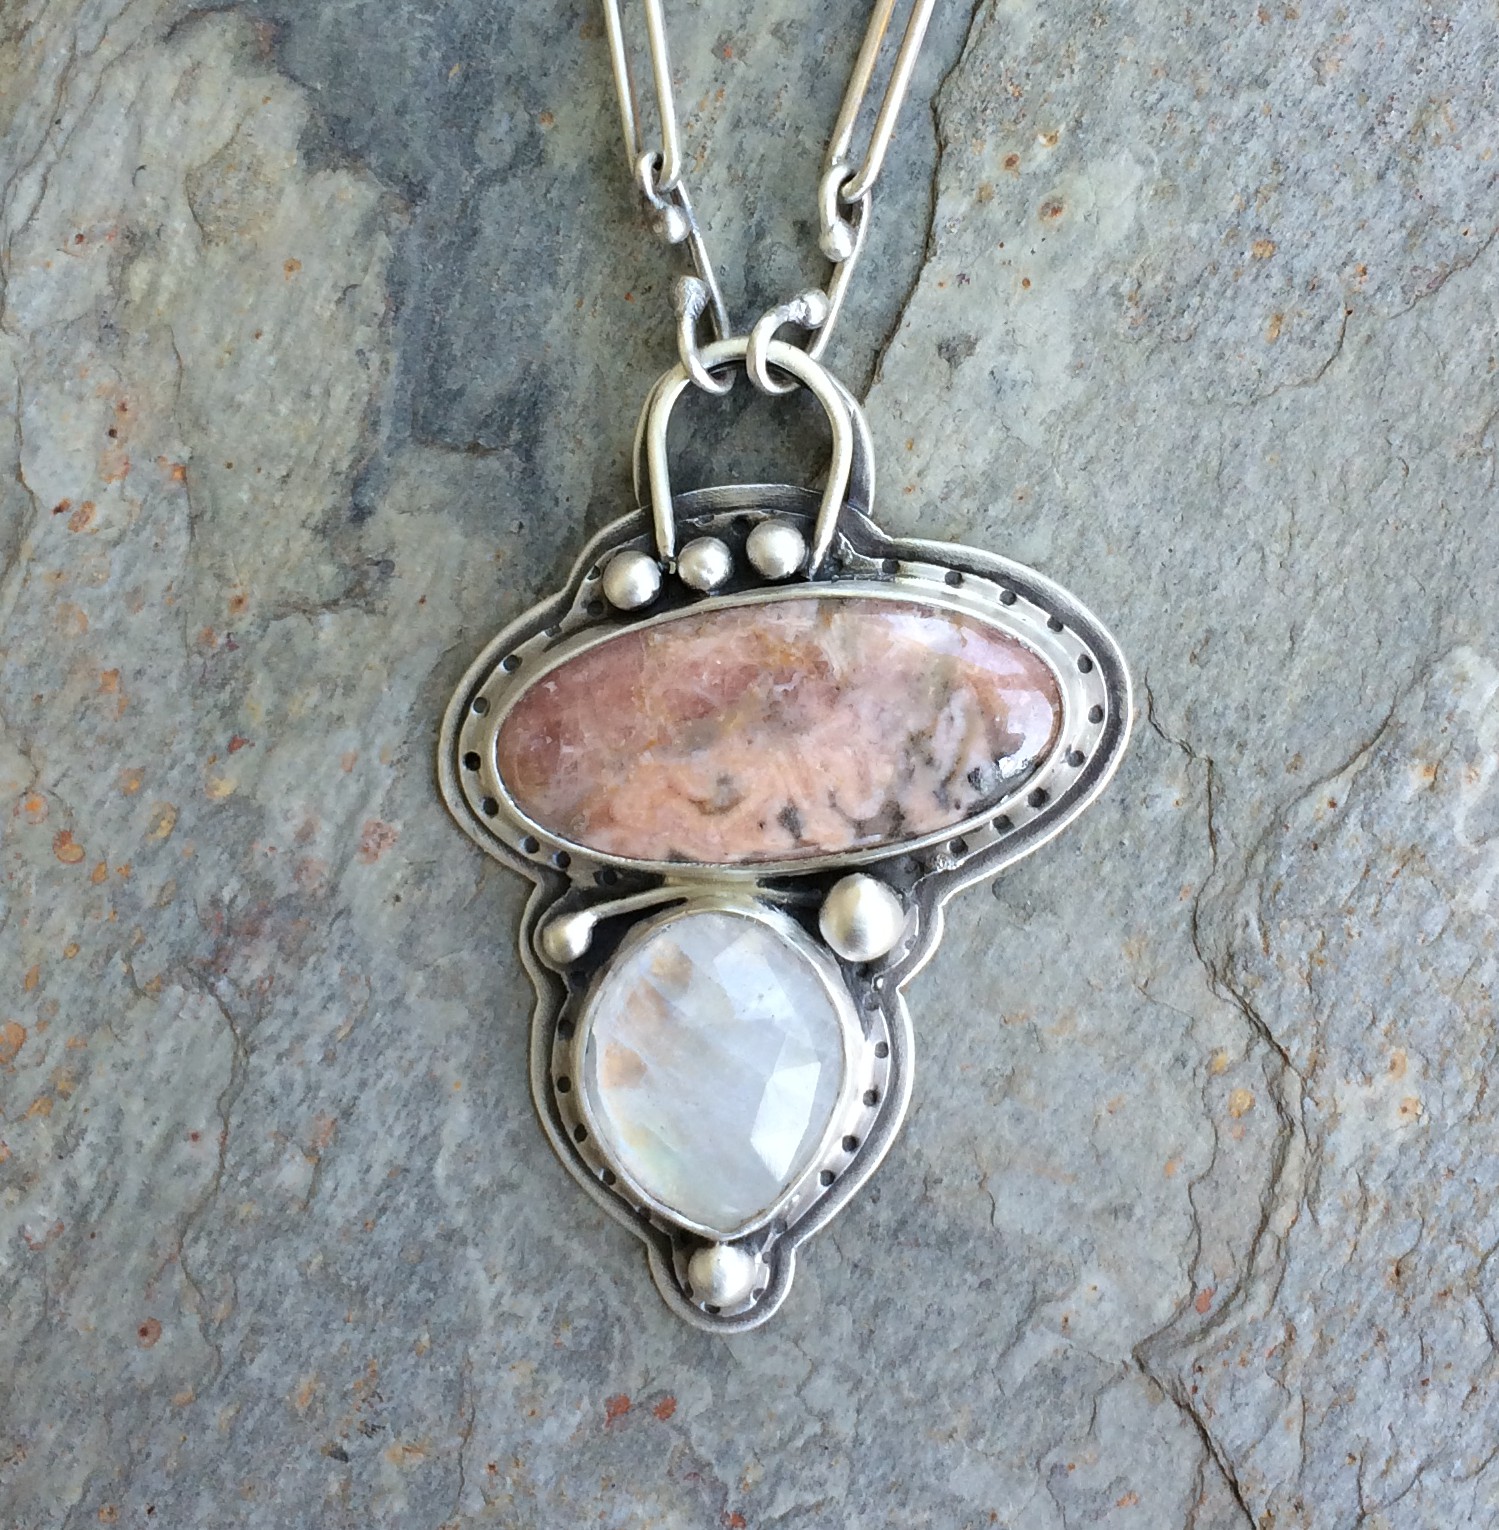
Chalcedony
Not completely sure about the beads though.

And I ordered an I.D. stamp.
Ain’t it cool :)
From Infinity Stamps.
They’re very expensive, but I’ve had one before and I really like the quality.
You just design your logo and send them the pic.

It also took me five years to make these.

Ocean Jasper

Ocean Jasper and Chalcedony
In the meantime, while I was procrastinating going into the studio by ordering more stuff, I bought a sand casting kit.

The wrong one as it turns out.
It all looked so easy on the videos, but man, that sand went everywhere. I even got some in my mouth.
It was like I was a child again.
O.K. still…
I couldn’t keep my space clean to save my life, yet the man on the video didn’t get a grain out of place.
It was very depressing.
My first casting came out so horribly that I just packed all the stuff back into the box in disgust and put the whole thing down as a waste of money.
But I really, really wanted to do it :( and if that man could do it, so could I damn it!
I’d bought it on Amazon and decided to go back there to buy some different sand and try again.
The same sand that the annoyingly good at it man used.
And, while cursing myself that I always get things wrong, I decided to read the reviews on the kit I’d bought.
Now I always read the reviews before I buy anything.
Always… except for this time.
Should’ve read the darn reviews.
Everyone complained about the sand, and when I came to think about it, I couldn’t quite remember why I had bought the brand I’d gone for in the first place when it was more expensive than the brand I’d originally gone onto Amazon to compare pricing on.
The funk’s messing with my brain man!
Then I got a bit ticked off because it was 120 odd dollars and it didn’t work even though it said, new and improved sand, in big letters on the tub.
That should’ve been my first clue.
So in a fit of determination I sent the whole package back even though I’d used the sand and the casting flask had burn marks around the funnel area where I’d poured the silver in.
I told them on the little return box that I’d used it, but that it was horrible, but Amazon refunded me straight away, even before the company had received my parcel back.
I was quite impressed.
Don’t know if the sand casting people are going to be though.
Now I’ve ordered the one I wanted in the first place.

Stay tuned…
Emboldened I next contacted a nice lady on FB who reps for JoolTool.
I’d decided that I’d had enough of defective tools and products.
If you remember some of the discs that came with my JoolTool (seven of them!) kept spinning off the spindle when I was using them because their threads had worn or something.
These things are expensive and so are the adhesive pads and papers that you stick to them.

I mean this bunch right here cost over $400!
(I shouldn’t have looked at the price…)
I’d already contacted the shop a couple of months ago and no one had answered me, so I was feeling pretty taken.
BUT this rep was great and Anie, the product designer and owner, phoned me and walked me through fixing them and now they are perfect and ready to go!
Great result.
Great customer service.
Very happy camper right here.
To celebrate I have a little pair of earrings you can make.

All for you :)
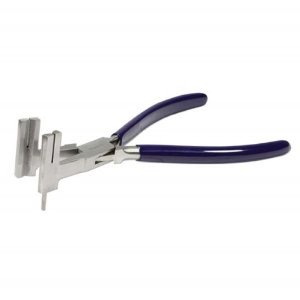
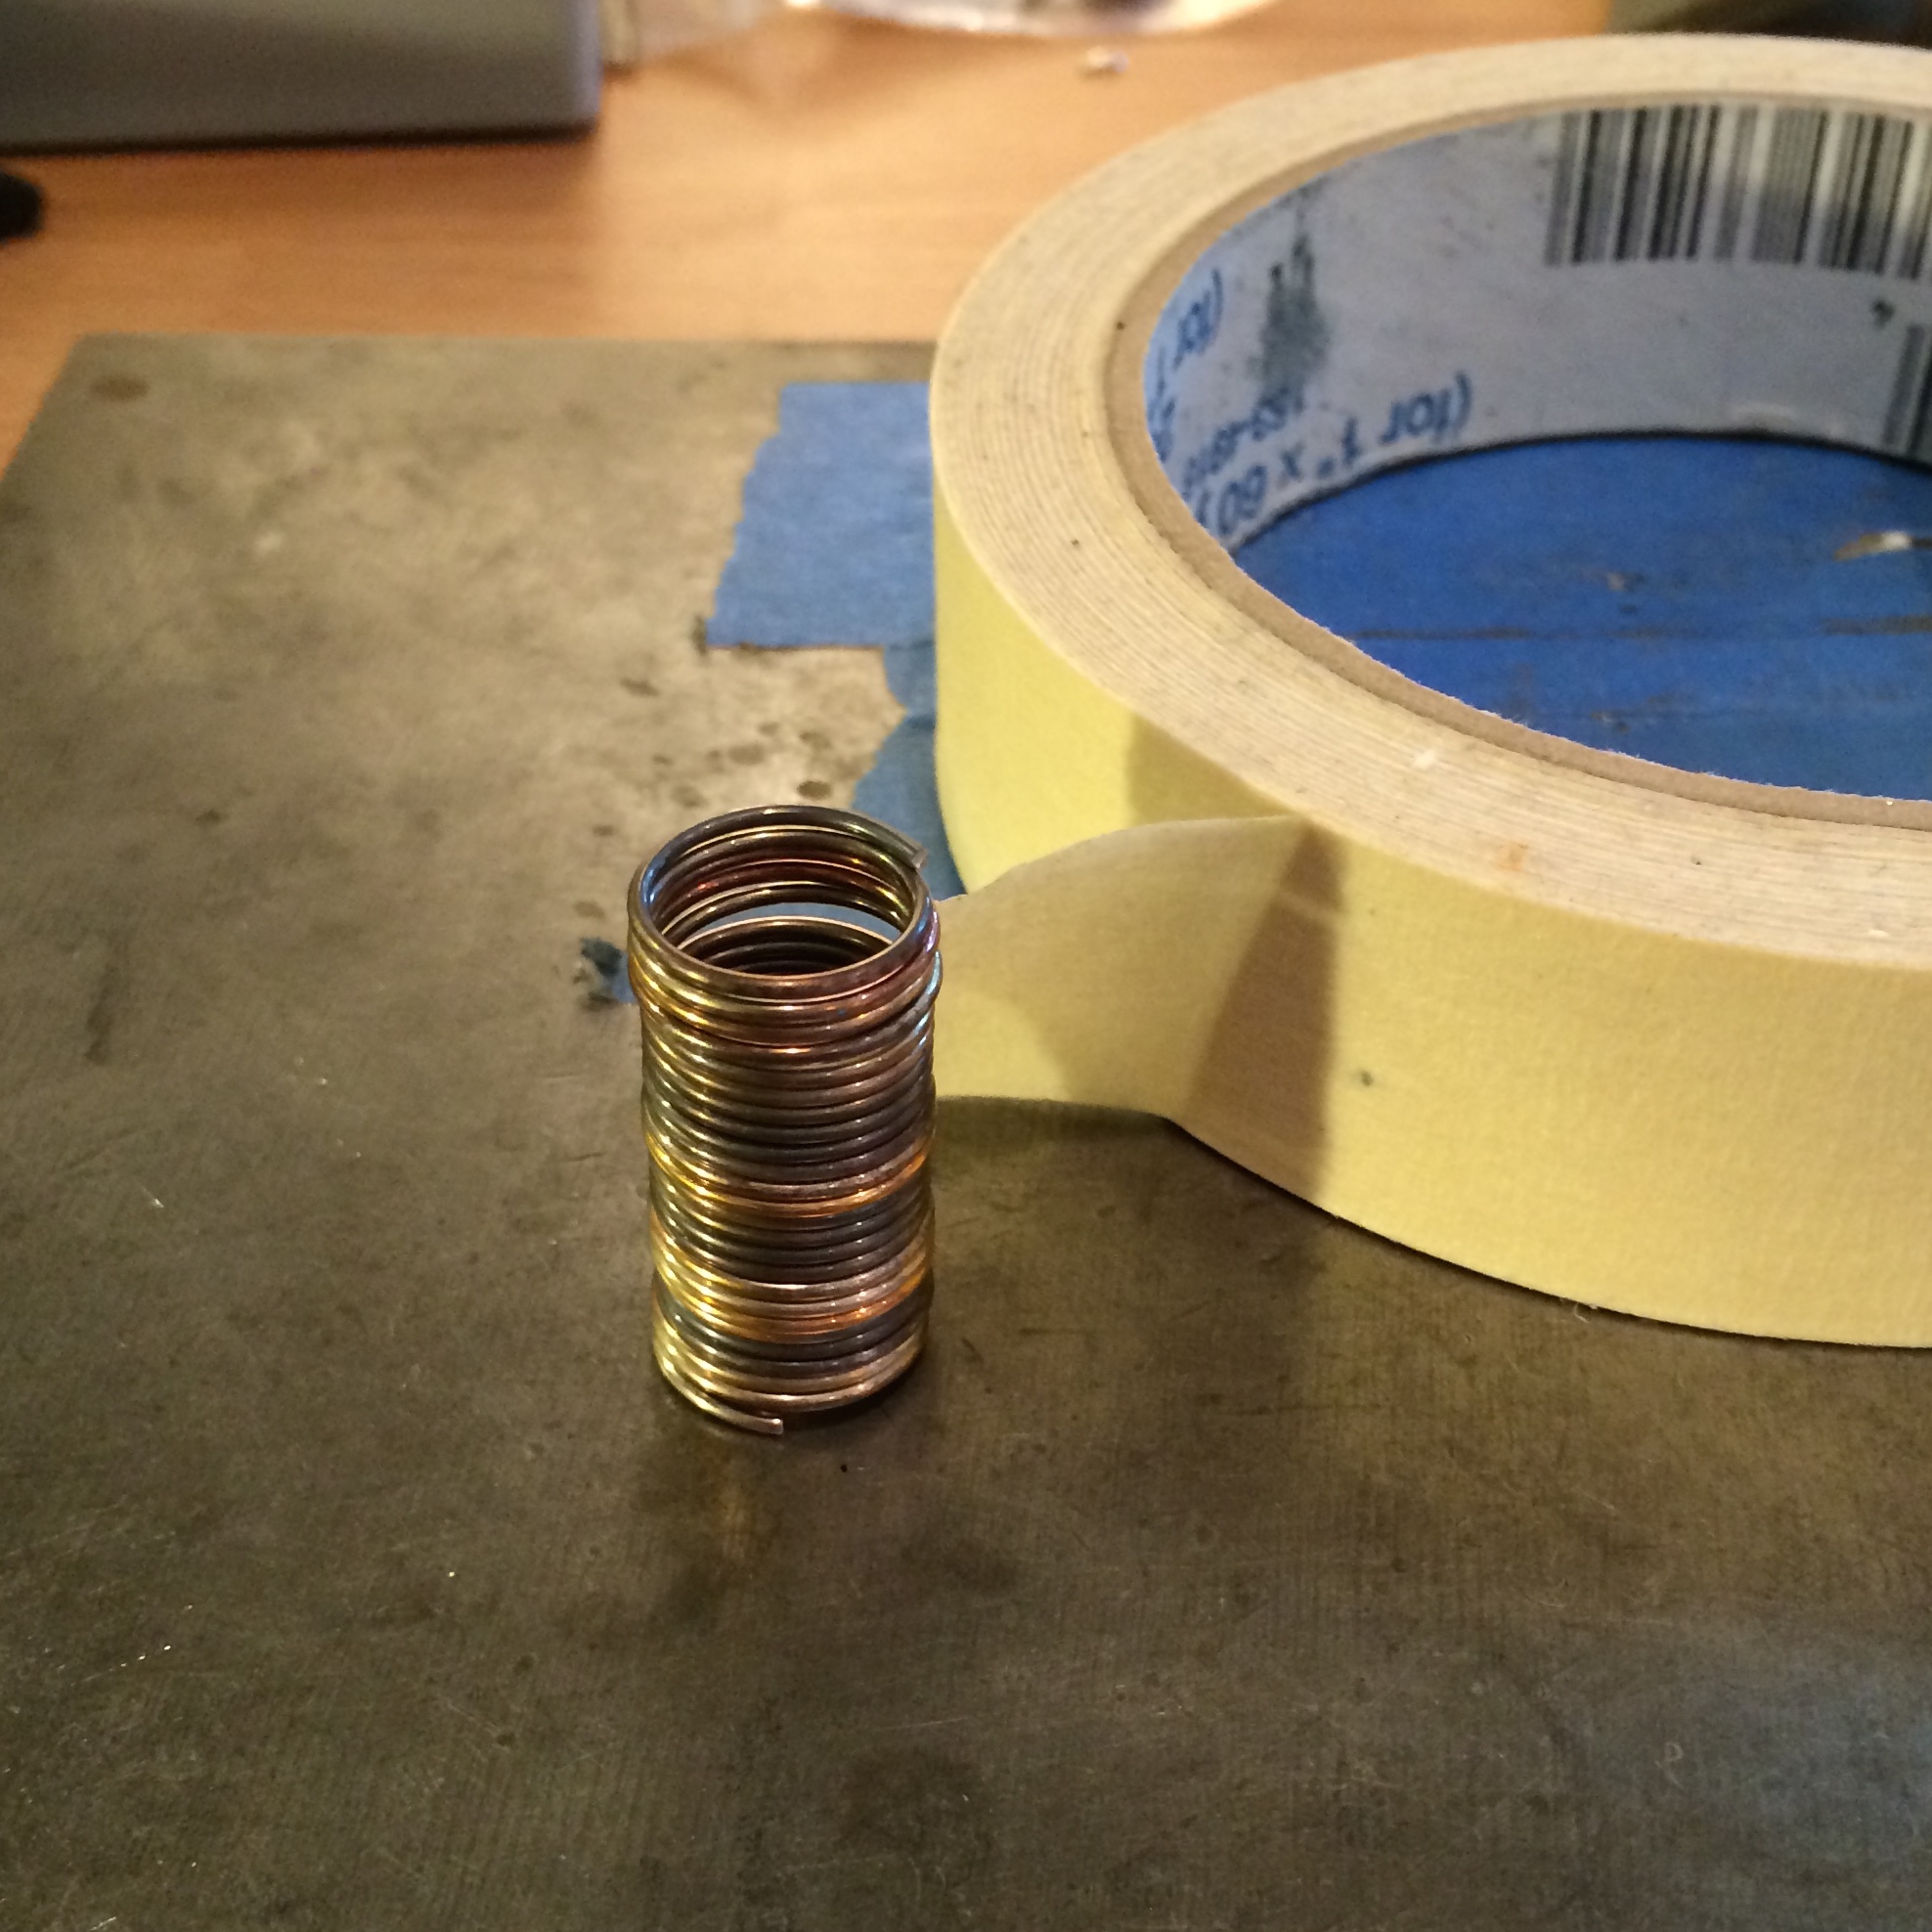
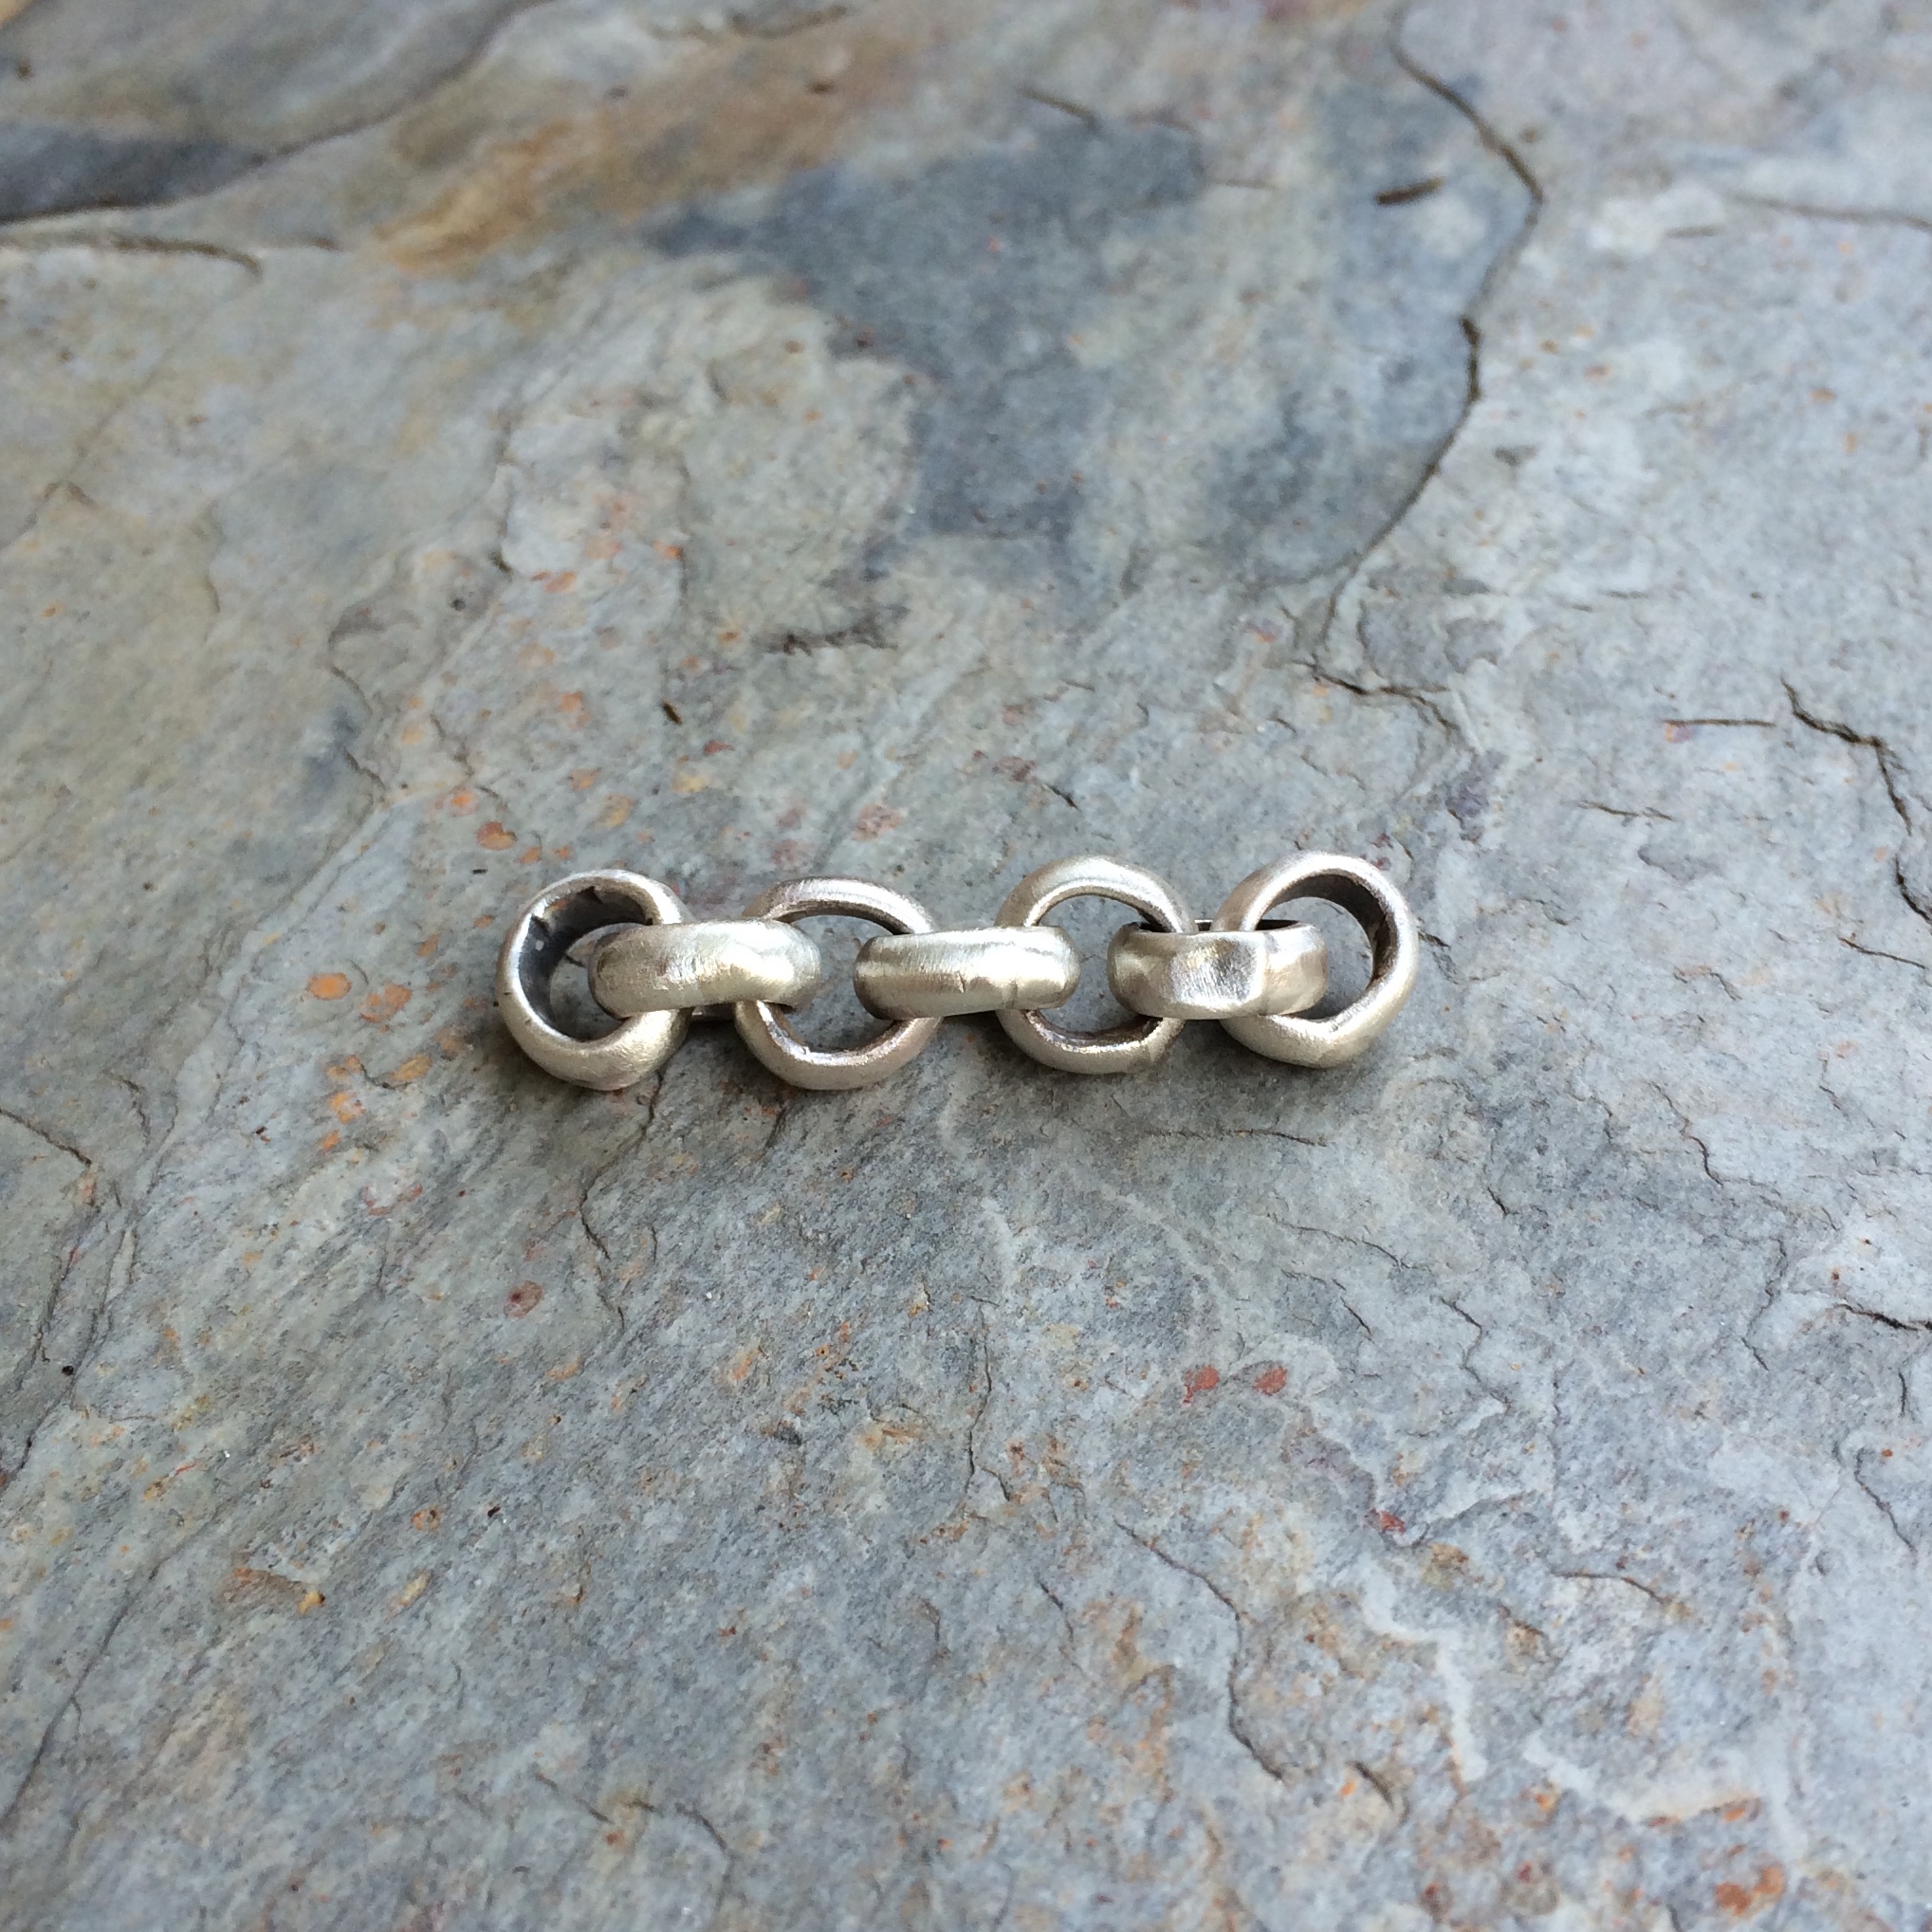
First take 18 gauge sterling silver wire and wrap it around a mandrel six times.

I’ve used the largest ring on this pair of pliers.
It always irritates me when I get this particular pair of pliers out because I can’t remember why there is a number 1 and an asterisk on them.
I don’t think I put it on them, but why would I buy a pair that were marked?
Just another of life’s mysteries to mess with my mind…
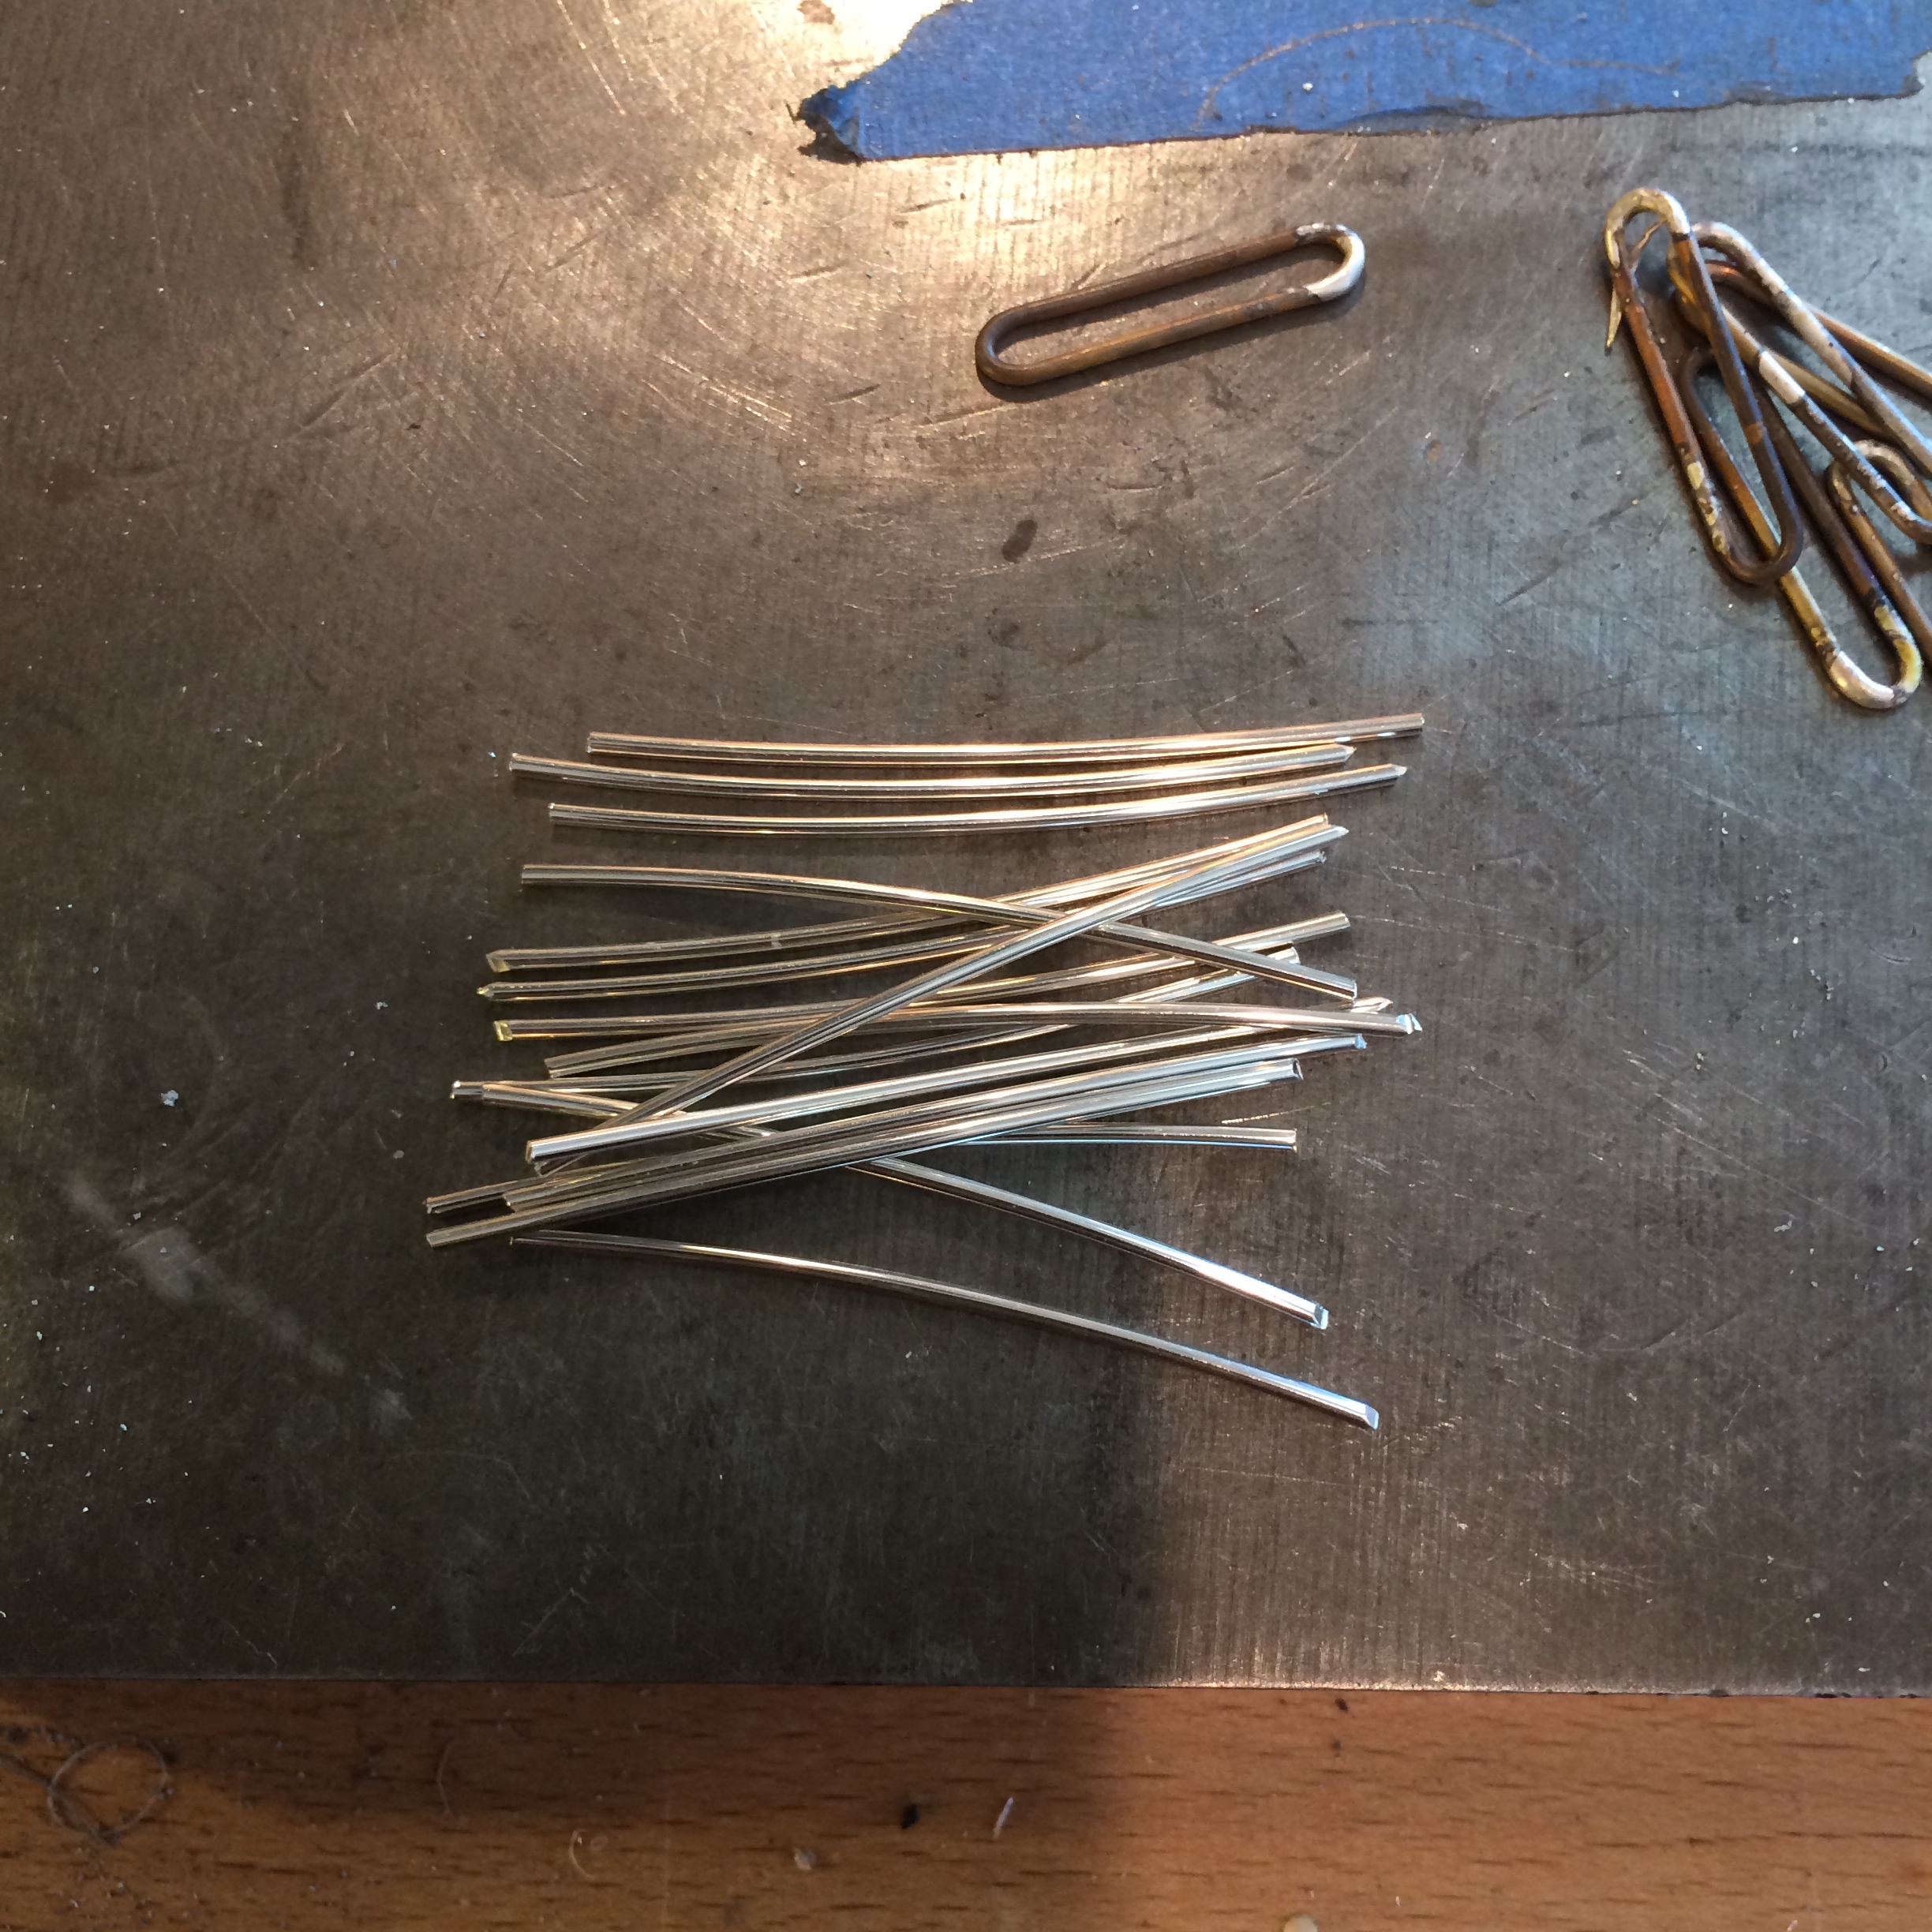
Now snip and solder them.

Shape them into rough ovals and haphazardly hammer them.

And group them into threes.

As always I’ve forgotten the next photo which would have been of making a loop out of a thicker piece of wire.
I used 8 gauge half round wire.
Now loop the three wires through it and solder the top of the loop together.
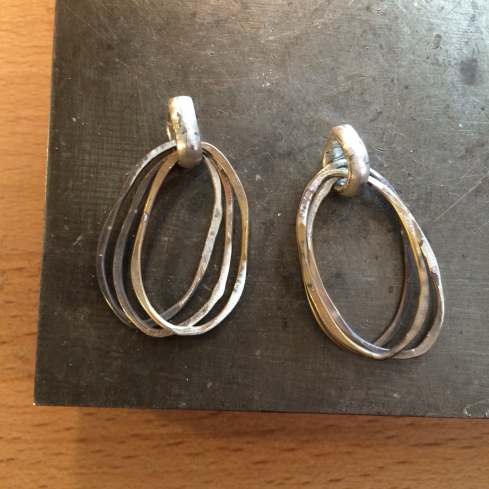
Because the half round wire is thick I left the top of it shaped as a teardrop instead of trying to get it perfectly round.
Now find two large silver balls that you have in your silver ball scrap box and solder one onto the rounded part of the thick tear drop ring.
The next photo’s are fuzzy, sorry. I tried hard to get good ones, but, as good as I am, I couldn’t hold everything at once.
Hold the tear drop point facing down in your third hand tweezers.
If you haven’t already got third hand tweeter, get some.
They’re invaluable.
Saves a lot of hospital visits.
Now make sure that all of the soldered areas of the thin large rings are facing down away from the tear drop and place one of those old pick sticks through the tear drop to separate the three rings from the soldered part of the tear drop.
This will help prevent the tear drop solder flowing onto the three rings while you’re soldering the ball onto the round part of the tear drop.
Capisce!

Put some flux on top of the round end of the tear drop and on the bottom of the ball.
Heat the bottom of the ball and pick up a melted ball of solder with it.
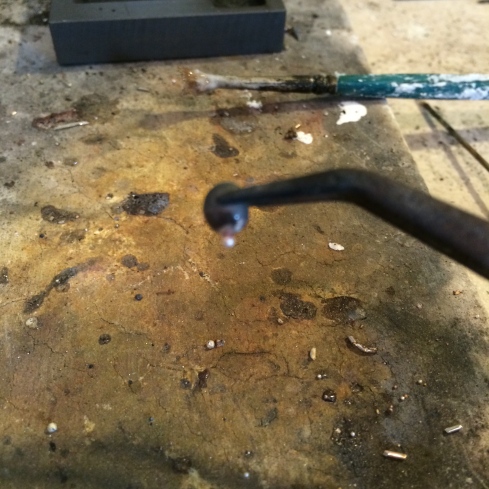
Now heat up the round end of the tear drop and solder the ball onto it.
Turn the tear drop over and clasp it in the third hand, again putting the broken pick stick between the bottom of the three rings and the inside of the round end of the tear drop as before.

Get a little jump ring and place it in your third hand with the join facing downward and put some flux on the bottom of the jump ring and on the tear drop end of the large ring.
Gently heat the jump ring and pick up a small piece of solder as you did with the ball.
Now heat the tear drop end keeping the jump ring away from the flame, but close enough to stay heated and when the solder is ready touch the jump ring to the tear drop end.

Pickle the earrings.
Make some ear wires.
And polish the way you desire.
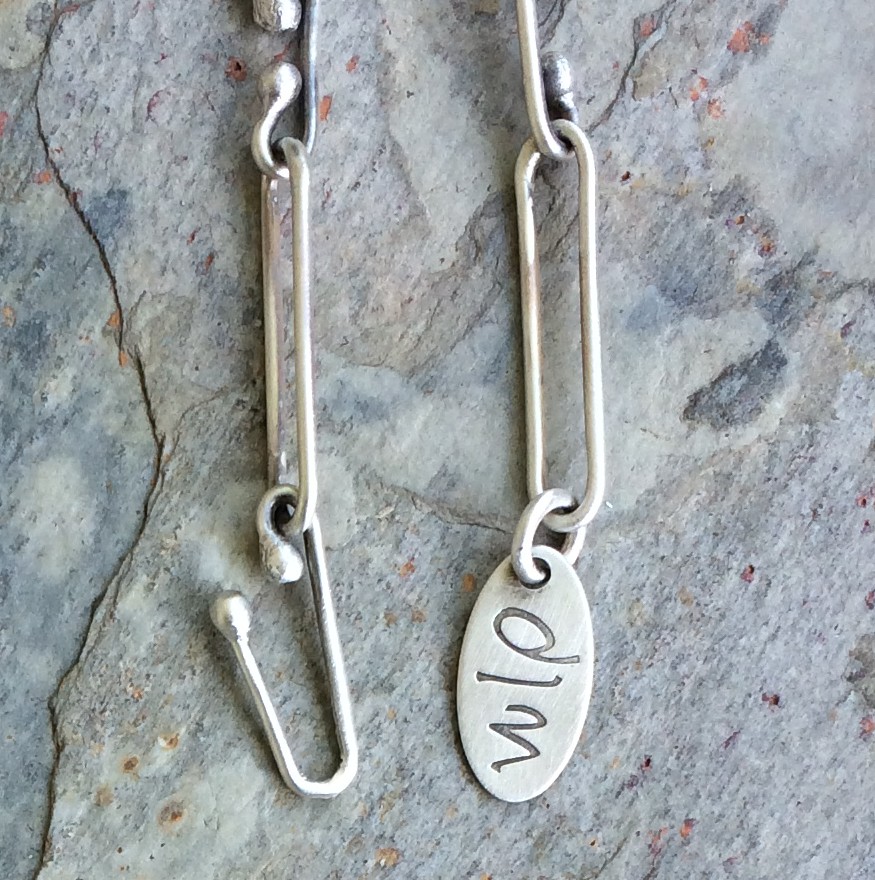
And voilà!
Your earrings are ready.
Now you can knock yourself out and make as many variations as you want.

I tried a different way to connect the ear wire here, but don’t like it as much as the other way.
Always good to experiment though
;)
I leave you with the progress of the painting.

And,
you might want to look away…
a poor me sawing injury
because when you’re in a funk normal activities take on a life of their own and like to do things to make you swear.
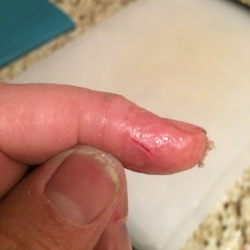
I’ve made it small for grossing out purposes.
A lot.
–
–
–


 Which looks as though its only existence in life should be to do something wonderful.
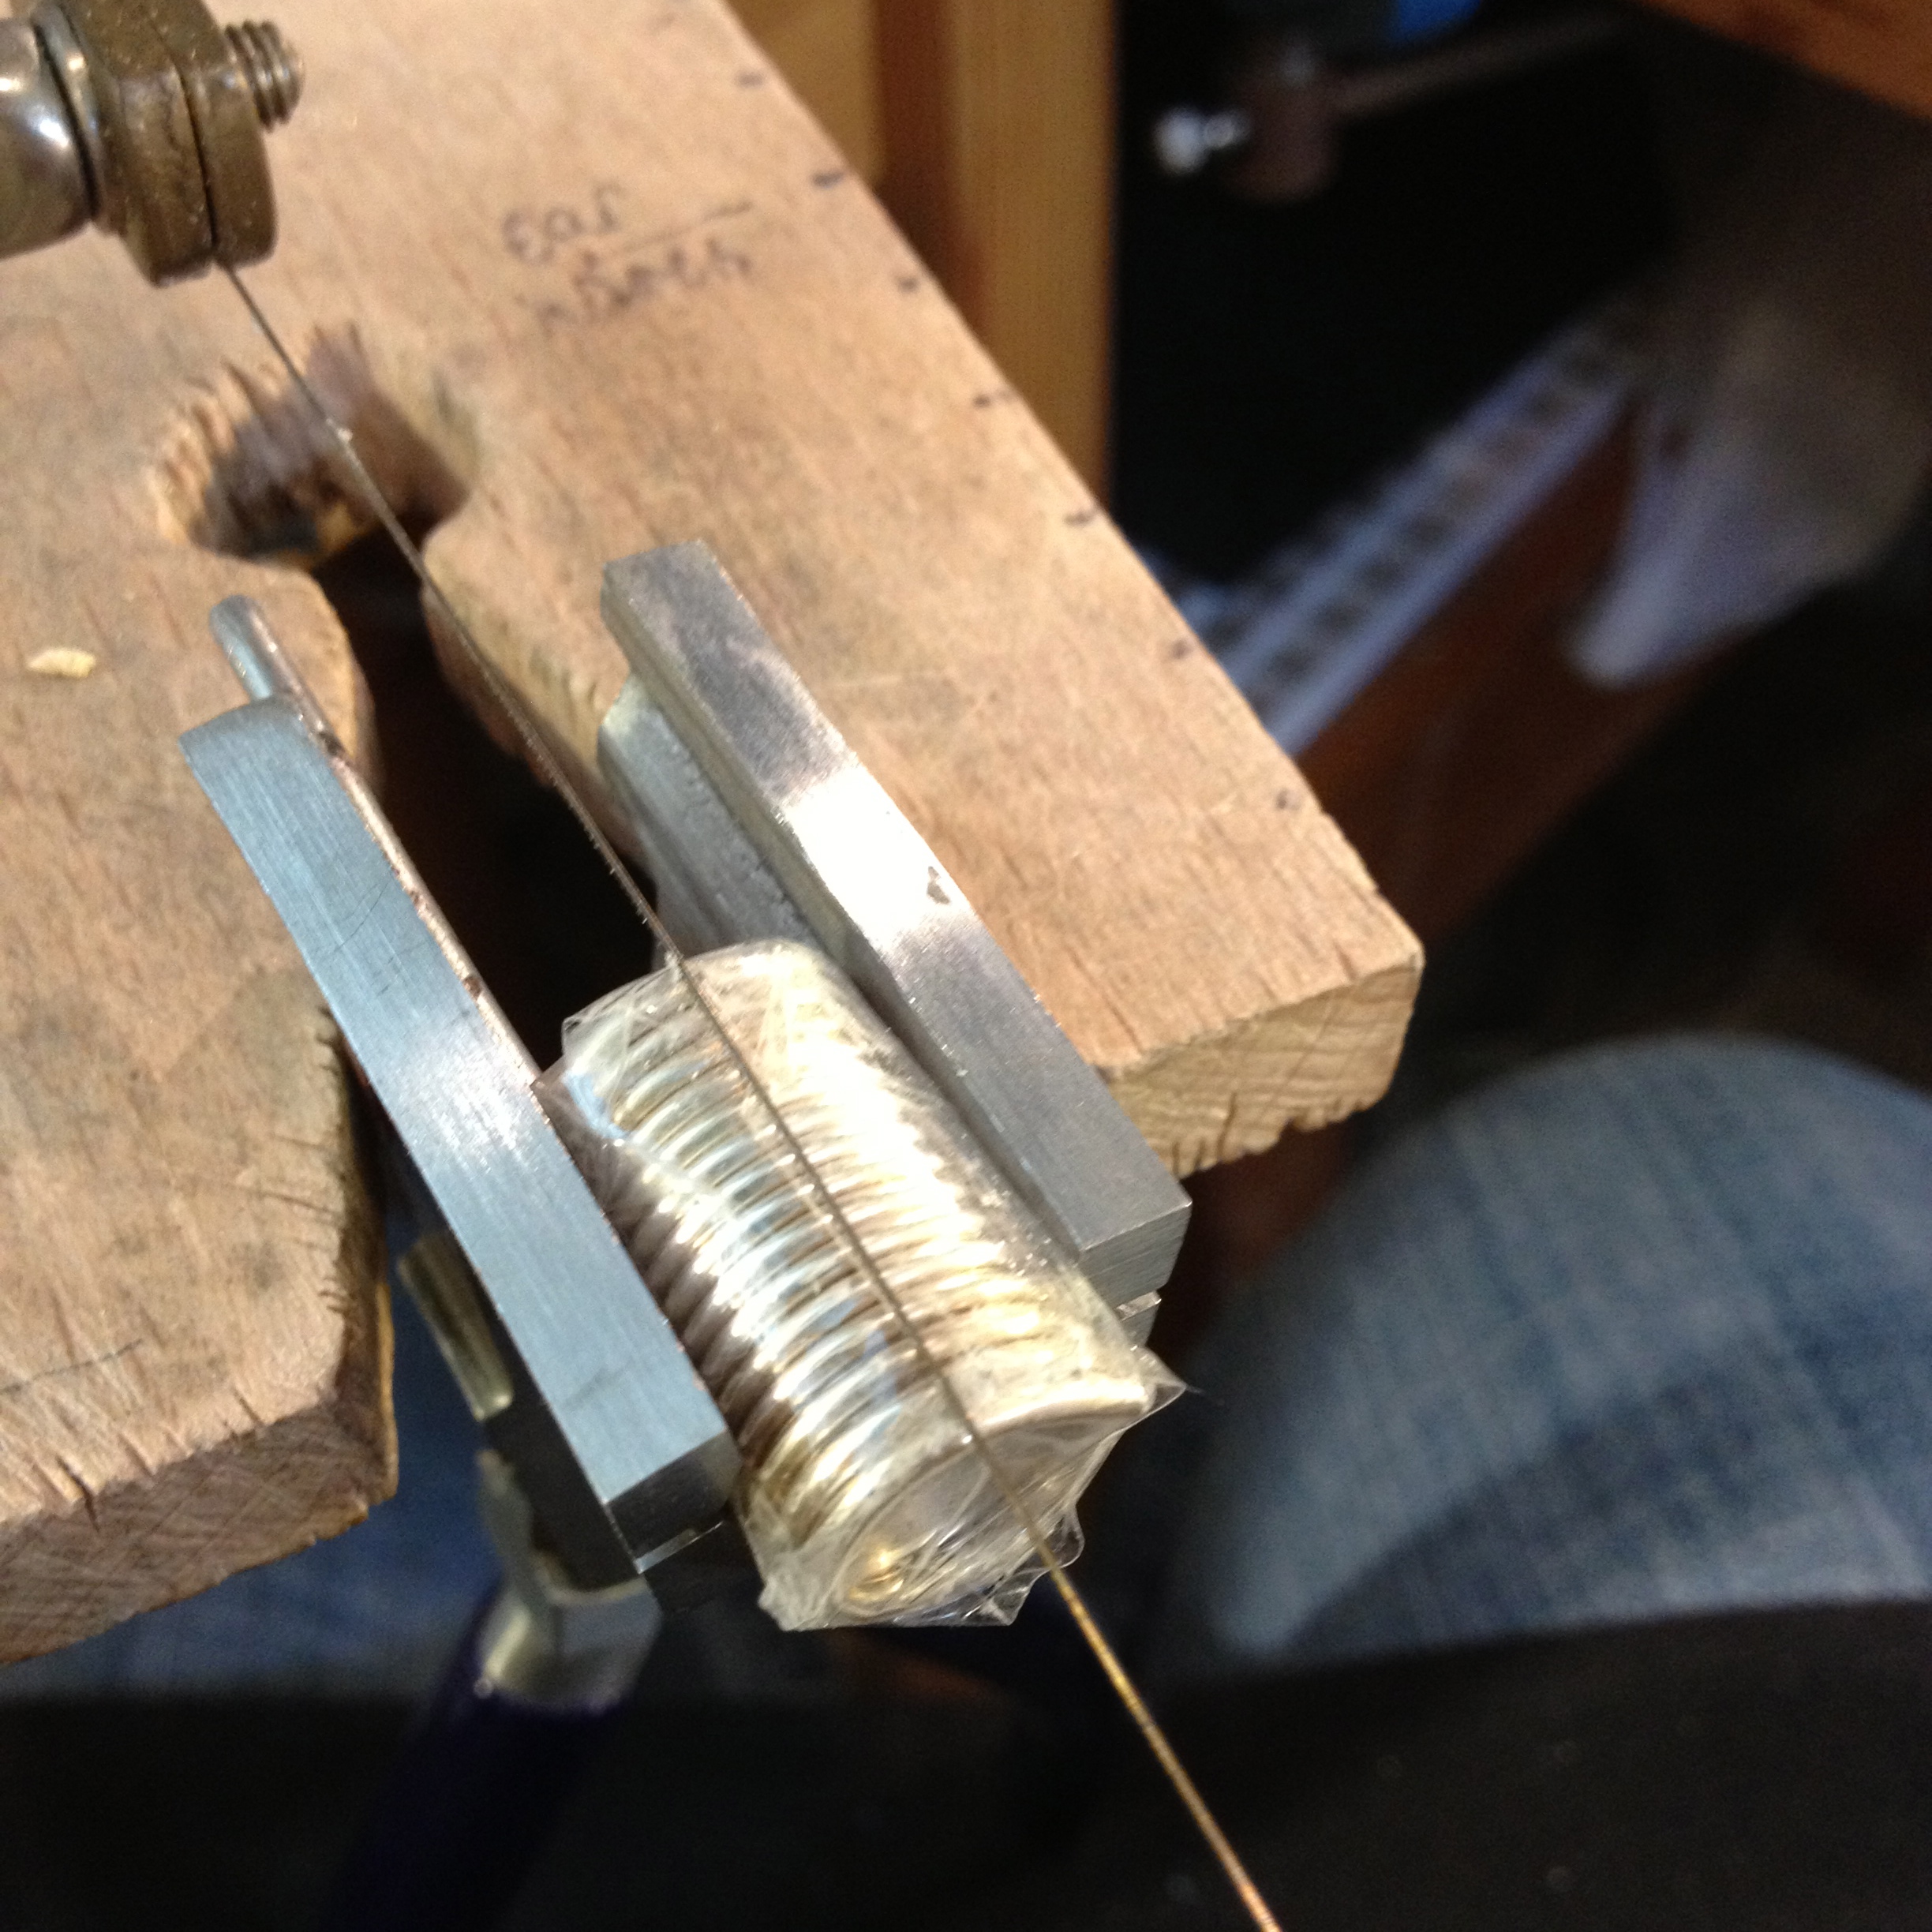


